Guide
Best Mini Cake Pans For Halloween Treats
Our honest guide to best mini cake pans for halloween treats — what actually matters, what to skip, and how to choose well.
Our honest guide to best mini cake pans for halloween treats — what actually matters, what to skip, and how to choose well.
 Editor’s Pick
If I’m choosing mini cake pans for Halloween treats, I’d put cast aluminum first for crisp molded details, nonstick steel next for simple, fast-baking minis, and silicone last for soft-set desserts or very easy release. The right pick depends less on the holiday shape itself and more on how much detail you want, how neatly you need the cakes to come out, and how much fuss you’re willing to manage at release time.
Mini cake pans are one of the easiest ways to make Halloween desserts feel special without covering everything in thick frosting. A skull, pumpkin, or ghost cakelet already has character built in. The trick is choosing a pan material that matches your plan, then treating the batter, bake time, and release gently enough to keep those details intact.
For skulls, pumpkins, bats, and ghosts with visible ridges or facial details, cast aluminum is usually the strongest choice. It tends to heat evenly and helps molded cakes hold a cleaner outline, which matters when the decoration is meant to be light: a glaze, a dusting of sugar, or a little selective piping rather than a full coat of frosting.

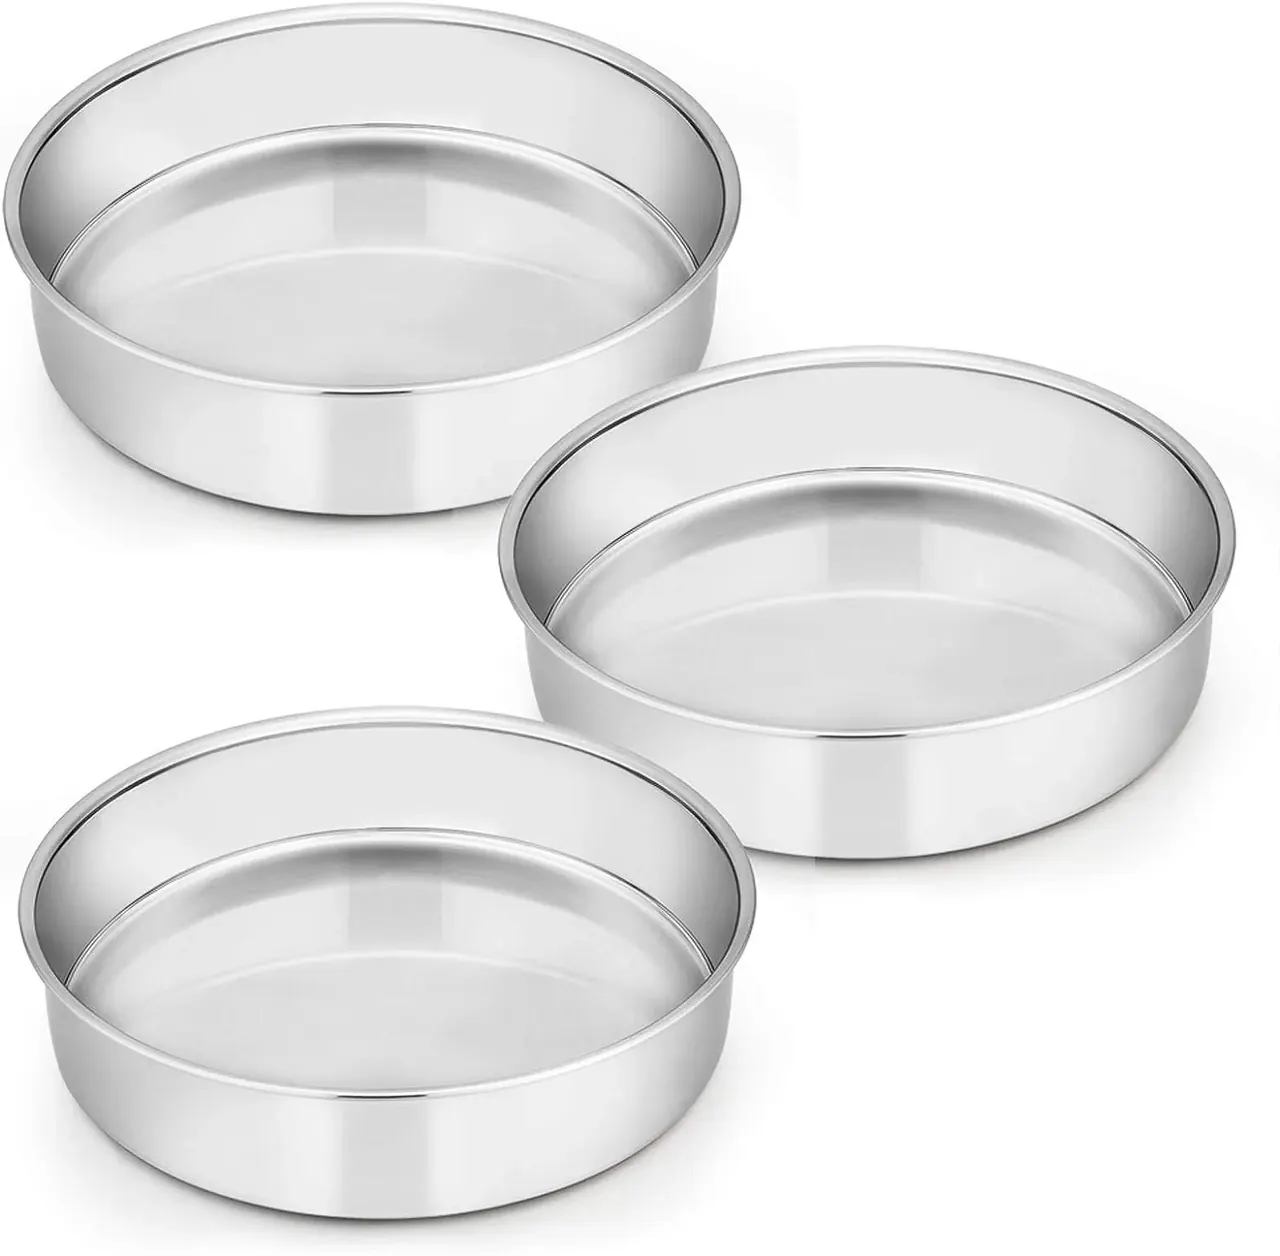
360 Cookware T-304 Stainless Steel Cake Pan, 9-inch
Shop at Amazon →This material is especially useful when the shape itself is doing most of the work. Pumpkin grooves, skull eye sockets, and ghost folds show up more clearly when the pan transfers heat steadily through the batter. That’s why detailed molded pans are so often made this way, as you can see in this cast-aluminum cakelet style.
The tradeoff is that release prep matters more. I like to think of detailed metal pans as reliable but not forgiving. If any groove is missed when greasing, that’s usually where the cake tears. A thin, thorough coating of butter or shortening followed by flour or cocoa is the safest routine. Some bakers also use a simple release paste made with fat and flour; this explanation of cake release paste lays out the method clearly.
Common mistakes with cast aluminum pans:
For most mini Halloween cakes, filling each cavity about halfway is the safest starting point. That leaves room for the batter to rise and still keep the final shape clean.
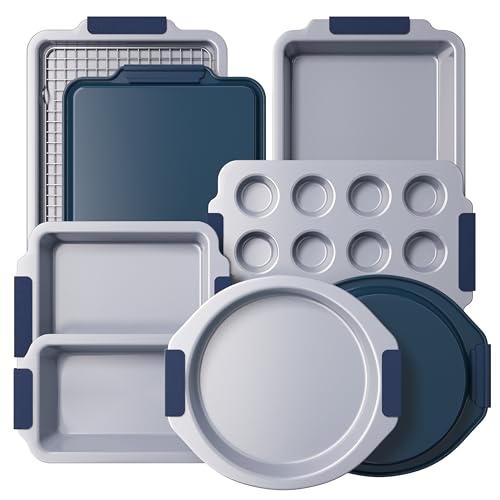
If your Halloween baking leans more toward mini loaves, rounds, or less intricate seasonal shapes, nonstick steel is practical and straightforward. It heats quickly, encourages good browning around the edges, and usually doesn’t require quite as much prep work as a highly detailed cast pan.
I think of nonstick steel as the sensible middle ground. It’s useful when you want the Halloween theme, but you’re not relying on every tiny line in the mold to read clearly. A pumpkin or ghost with broad contours can still look festive, while mini loaves and snack cakes are especially comfortable here.
Because steel can brown quickly, it helps to watch timing closely. Small cakes can go from tender to dry faster than people expect, especially in shallow cavities. In a general mini-cake method like this Halloween mini-cake recipe, the cakes bake in a short 13- to 15-minute window at 350 degrees, which is a good reminder that small molds need early checks.
For the cleanest results, use smooth batters without large add-ins. Big nuts, chocolate chunks, or dried fruit can snag on the pan and interfere with the outline. A simple chocolate, vanilla, spice, or pumpkin batter usually works best.
Common mistakes with nonstick steel pans:
I’d still grease these pans lightly, especially if the shape has corners or decorative ridges. Then let the cakes rest briefly before inverting them onto a rack.
Silicone is the easiest material to flex away from a finished dessert, but it’s usually not the best at producing crisp exterior detail. For Halloween treats that will be glazed, dusted, or decorated minimally, that softer definition can be a drawback. For gelatin, mousse, or tender little cakes where release is the main concern, it can be very useful.
The biggest practical point with silicone is support. These pans need to sit on a baking sheet before filling and baking, both for stability and for easier transfer to and from the oven. A published mini-cake method also uses that approach and keeps the cavities only halfway full, as shown in this Halloween mini-cake method.
Silicone is a nice option if you want flexibility in what you make. It often handles baked batters and chilled desserts better than rigid metal pans. But if your goal is a sharply defined skull or pumpkin that needs very little decoration, metal generally gives a cleaner result.
Common mistakes with silicone pans:
Silicone can also hang onto greasy film and kitchen smells, so washing thoroughly and air-drying completely matters more than people sometimes expect.
The material matters, but a few habits make the biggest difference across all pan types.
Half-full cavities are a good baseline for mini Halloween cake pans. That gives the batter enough room to rise without flooding over the shape and obscuring the design.
Smooth, moderately thick batters work best. If the batter is too stiff, it won’t settle into facial features or grooves. If it’s too loose, the finished cakes can lose definition. Brownie batter can work well in deeper cavities, but it helps to watch doneness for moist crumbs rather than waiting for a fully dry toothpick.
Mini cakes bake quickly. Look for tops that spring back lightly, edges that are set, and a toothpick that comes out clean or with a few moist crumbs. It’s smart to test both a center cavity and an outer one, since small pans can bake unevenly from edge to edge.
Turning tiny cakes out immediately is asking for cracks, but leaving them in the pan until stone cold can lead to sticking. A short rest, around 10 minutes, is often enough to let the structure set while the cake is still warm enough to release cleanly.
The whole point of a mini Halloween mold is the shape. A thin glaze, a dusting of powdered sugar or cocoa, a little dark chocolate, or a few piped accents usually looks better than heavy frosting that covers the details.
Seasonal bakeware spends a lot of time in storage, so cleaning and storing it well matters almost as much as baking in it well.
Good storage habits help prevent rust, coating wear, dents, and that stale greasy film that can make next year’s first batch stick. These pan-storage guidelines echo the same basic rule: keep pans dry, protected, and not rubbing against harder cookware.
All-Clad Pro-Release Bakeware Set of 3
Shop at Walmart →Also at AmazonMini cake pans include molded cakelet pans, mini loaf pans, round mini pans, disposable foil pans, and silicone molds. For Halloween, the most common shapes are skulls, pumpkins, ghosts, bats, and other novelty molds.
Yes, if the cavities are oven-safe and deep enough. Fill them about halfway, grease well, and start checking early so the brownies stay fudgy rather than overbaked.
Grease every groove carefully, dust with flour or cocoa if needed, and let the cakes cool briefly before inverting. If one sticks, loosen the edge with a thin silicone tool instead of a knife.
You’ll usually see them called cakelets, mini cakes, or mini loaves, depending on the shape. Molded single-serving cakes are often described as cakelets.
For Halloween treats with clear, charming detail, cast aluminum is the best mini cake pan material, with nonstick steel close behind for simpler shapes and easy everyday baking. Silicone has its place, but mostly for chilled desserts or softer releases rather than sharply defined cakelets.

Paige Gilmore
Founder of Stripes & Willows — recipe creator, food photographer and stylist. Every guide is written to make honest, useful kitchen decisions easier.
More about Stripes & Willows →This page contains affiliate links. If you buy through them, Stripes & Willows may earn a commission at no extra cost to you — it never affects what we recommend.